The Vikings are often remembered as fearless warriors who sailed across the seas, raiding and exploring new territories. Central to their legend is their weaponry, with the Viking sword being one of the most iconic. To craft a Viking sword was to create a masterpiece of both form and function—designed for battle but imbued with symbolic significance. In this blog, we will explore the art of crafting a Viking sword, from the historical context of Viking swords to the step-by-step process used by blacksmiths to create these magnificent weapons.
The Historical Context of Viking Swords
Before diving into the intricate process of how to craft a Viking sword, it’s important to understand the historical and cultural significance of swords in Viking society. While axes and spears were more commonly used by the average Viking, the sword was reserved for the elite—chieftains, warriors, and successful raiders. Swords were not just weapons; they were symbols of power, honor, and social status.

The Historical Context of Viking Swords
What Sword Did Vikings Use?
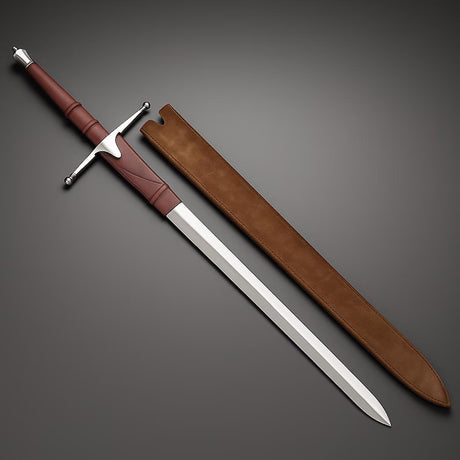
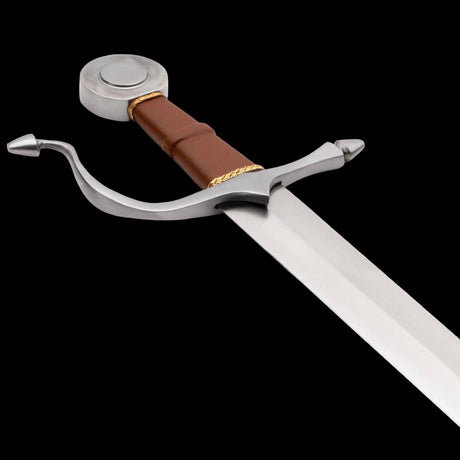
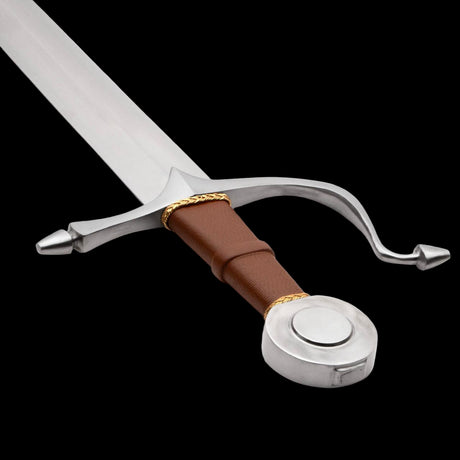
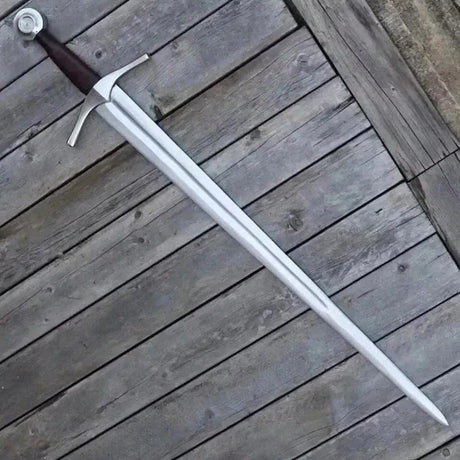
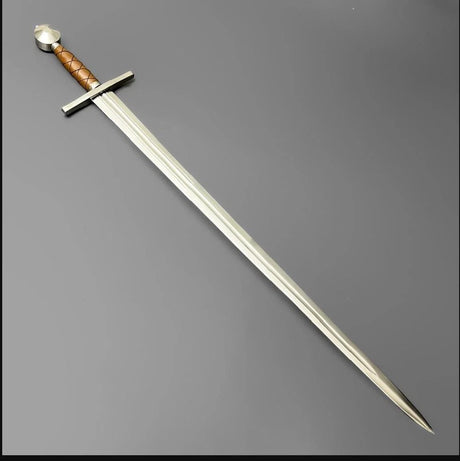
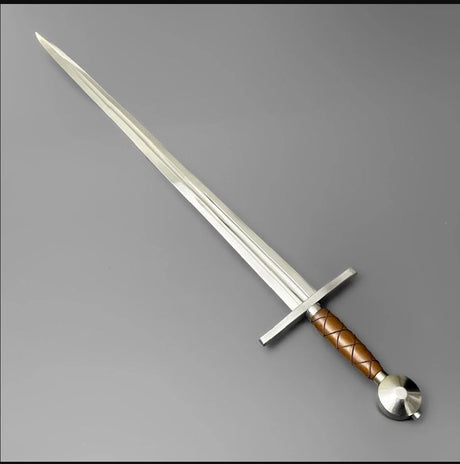
The Viking sword, also known as a spatha, evolved from earlier Roman designs. These swords typically featured a double-edged blade, measuring between 70 to 90 centimeters in length. Viking swords were designed for both slashing and thrusting, making them versatile weapons in close combat. The blade was complemented by a hilt, usually adorned with intricate designs, and a cross-guard for hand protection.
Over time, the craft of Viking swords developed significantly, with Viking blacksmiths introducing new techniques like pattern welding—a process in which multiple layers of steel and iron were fused together to create a stronger, more flexible blade. This technique also gave the blade its distinctive, wavy pattern, which was not only aesthetically pleasing but also enhanced the sword’s structural integrity.
The Symbolism of the Viking Sword
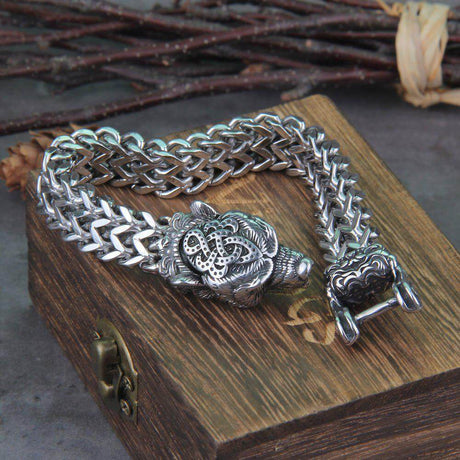
For Vikings, the sword was not just a weapon; it was a status symbol. Swords were expensive to craft and were often passed down through generations, becoming family heirlooms. They were frequently inscribed with runes or personalized engravings, reflecting the warrior’s achievements or beliefs. Some Viking swords were even named, adding to their mythological significance.
Viking swords were also important in funerary rites. Warriors who died in battle were often buried with their swords, as it was believed that the weapon would accompany them to Valhalla, the Norse afterlife reserved for those who died heroically.
Tools and Materials Needed to Craft a Viking Sword
Crafting a Viking sword requires specific tools and materials, many of which have been used by blacksmiths for centuries. While modern technology has advanced, the basic principles behind swordsmithing remain largely the same.

Key Materials for Crafting a Viking Sword
- Steel or Iron: The primary material for crafting a Viking sword was iron, though later swords incorporated steel to improve strength and sharpness. High-carbon steel is often preferred today, as it provides a balance between strength and flexibility.
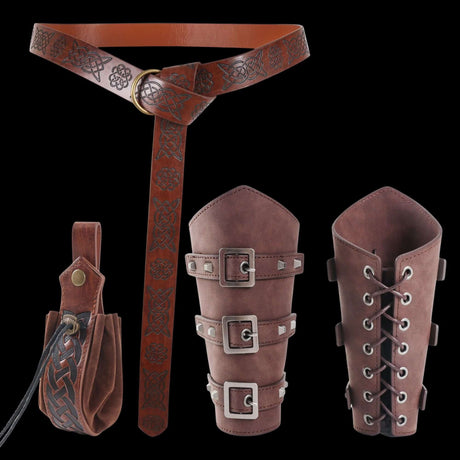
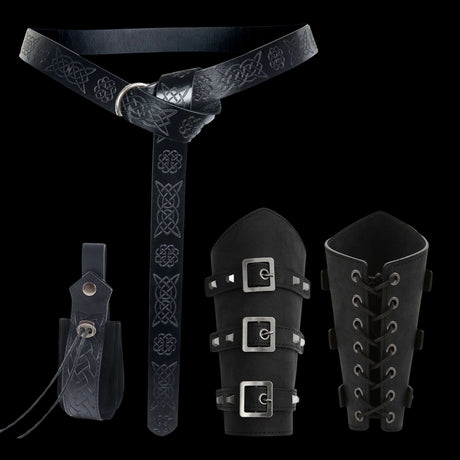
- Leather for the Handle: Viking sword handles were often wrapped in leather to provide a better grip and ensure comfort during battle.
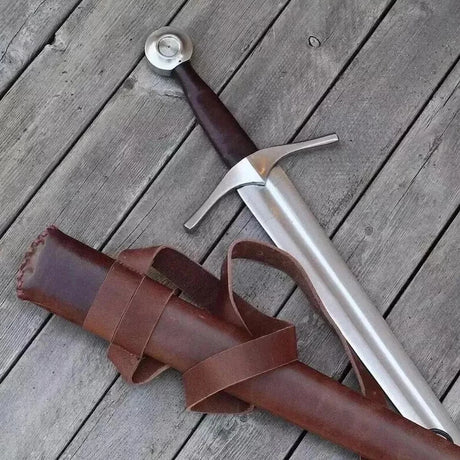
- Wood for the Scabbard: A Viking sword's scabbard (or sheath) was typically made from wood and covered in leather. It sometimes featured decorative elements that reflected the warrior’s status or family lineage.
Essential Tools
- Forge: A forge is essential for heating the metal to the high temperatures needed for forging. In ancient Viking times, forges were simple, often fueled by charcoal.
- Anvil: The anvil provides a solid surface on which the heated metal can be hammered and shaped.
- Hammer: A blacksmith’s hammer is used to shape the metal into the desired form.
- Tongs: Tongs allow the blacksmith to safely hold and manipulate the heated metal without burning themselves.
- Grindstone or Whetstone: Once the blade is forged, it must be sharpened. Grindstones and whetstones are used to create a sharp, polished edge.
The Process of Crafting a Viking Sword
The process of crafting a Viking sword is time-intensive and requires precision, patience, and skill. From heating the metal to attaching the hilt, each step is crucial to producing a sword that is both functional and aesthetically beautiful.

The Process of Crafting a Viking Sword
Step 1: Forging the Blade
The first step in crafting a Viking sword is forging the blade. This involves heating the steel or iron until it is malleable enough to shape.
Heating the Metal
The metal is heated in a forge until it reaches a temperature of approximately 1,500 to 2,000 degrees Fahrenheit. At this temperature, the metal becomes soft enough to shape but not so hot that it melts. In Viking times, charcoal was used as the primary fuel for the forge.
Hammering and Shaping the Blade
Once the metal is heated, the blacksmith uses a hammer to shape it into the form of a sword. This involves repeatedly heating and hammering the metal, gradually forming the blade. The blade is typically double-edged and tapers towards the point, making it effective for both slashing and thrusting.
Step 2: Pattern Welding (Optional)
Some Viking swords were made using a technique called pattern welding, which involved fusing together strips of iron and steel. This process created a stronger, more flexible blade and gave the sword a beautiful, wavy pattern. While not all Viking swords used this technique, it was considered a mark of high-quality craftsmanship.
The Aesthetic Appeal of Pattern Welding
The wavy pattern created by pattern welding was more than just a visual feature; it also signified the blacksmith's skill. Warriors who owned pattern-welded swords were often seen as prestigious figures in Viking society, as these swords were more expensive and difficult to produce.
Step 3: Quenching and Tempering the Blade
Once the blade has been shaped, it must be hardened through the processes of quenching and tempering.
Quenching
Quenching involves heating the blade one final time before quickly cooling it in water or oil. This process hardens the metal, making it durable enough to withstand battle. However, quenching can also make the metal brittle, so the blade must be tempered to reduce the risk of cracking.
Tempering
Tempering involves reheating the blade to a lower temperature (typically between 400 and 600 degrees Fahrenheit) and then allowing it to cool slowly. This process softens the metal slightly, reducing its brittleness while maintaining its hardness.

Tempering
Step 4: Sharpening the Blade
Once the blade has been quenched and tempered, it must be sharpened to create a fine edge. In Viking times, blacksmiths used grindstones or whetstones to sharpen their swords.
The Grindstone
Using a grindstone, the blacksmith carefully grinds down the edges of the blade to create a sharp, even edge. The goal is to make the blade sharp enough for combat without making it so thin that it becomes fragile.
Step 5: Crafting the Hilt
The hilt is the part of the sword that the warrior holds, and it usually consists of a pommel, grip, and cross-guard. The hilt serves both a functional and decorative purpose, providing balance and protecting the warrior’s hand during battle.
Attaching the Hilt
The hilt is usually made from wood, bone, or metal, and is often wrapped in leather for added comfort and grip. The pommel at the end of the hilt serves as a counterbalance to the blade, making the sword easier to wield.
Step 6: Creating the Scabbard
The scabbard, or sword sheath, was traditionally made from wood and covered with leather. Viking scabbards were often lined with fur or cloth to protect the blade and prevent rusting.
Personalizing the Scabbard
Viking warriors often personalized their scabbards with runes or symbols that reflected their lineage, beliefs, or achievements. The scabbard was an important part of the sword, not just for practicality, but also for its symbolic value.
The Importance of Craftsmanship in Viking Culture
In Viking culture, craftsmanship was highly valued, especially when it came to weapons. To craft a Viking sword was a mark of honor for both the blacksmith and the warrior who wielded it. These swords were often seen as works of art, with intricate designs and personalized engravings.
Did Vikings Use Swords?
While axes and spears were more commonly used in Viking warfare, swords held a special place in Viking society. A sword was a symbol of a warrior’s status, and owning one was a sign of wealth and power. Vikings did use swords in battle, particularly those of higher rank or those who had proven themselves in combat.
Ancient Viking Sword Craftsmanship
The process of crafting an ancient Viking sword required not only technical skill but also a deep understanding of metallurgy and combat. Viking blacksmiths were able to create swords that were both strong and flexible, capable of withstanding the rigors of battle while remaining sharp and effective.
Modern Interest in Crafting Viking Swords
Today, there is a growing interest in Viking swords, both for historical reenactments and for decorative purposes. Many modern blacksmiths still follow the traditional techniques used by Viking swordsmiths, creating functional replicas that are true to the ancient methods.
Why Craft a Viking Sword?
For many, the process of crafting a Viking sword offers a unique connection to history. By following the same techniques used by Viking blacksmiths over 1,000 years ago, modern craftsmen can create swords that are not only functional but also carry the weight of tradition and heritage.
Whether you’re interested in crafting your own sword or purchasing an ancient Viking sword replica, understanding the process behind these iconic weapons offers a deeper appreciation for the skill and craftsmanship involved.