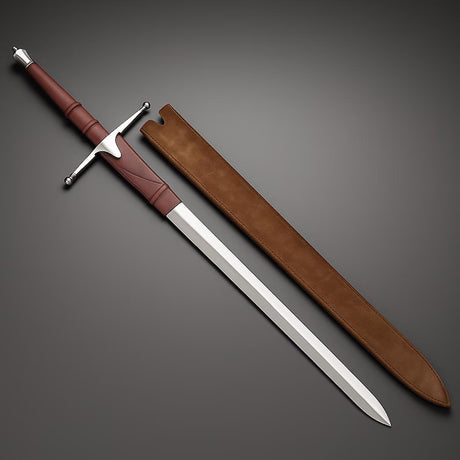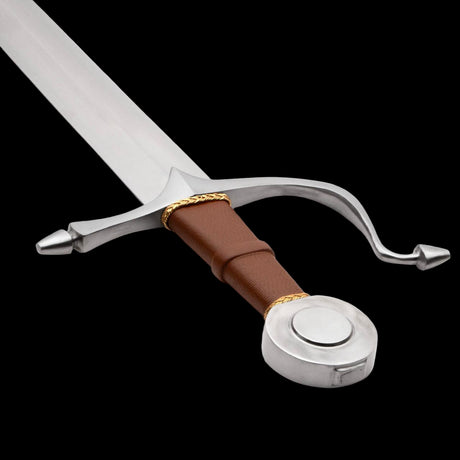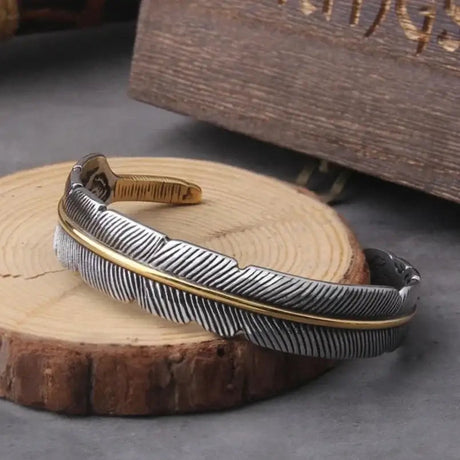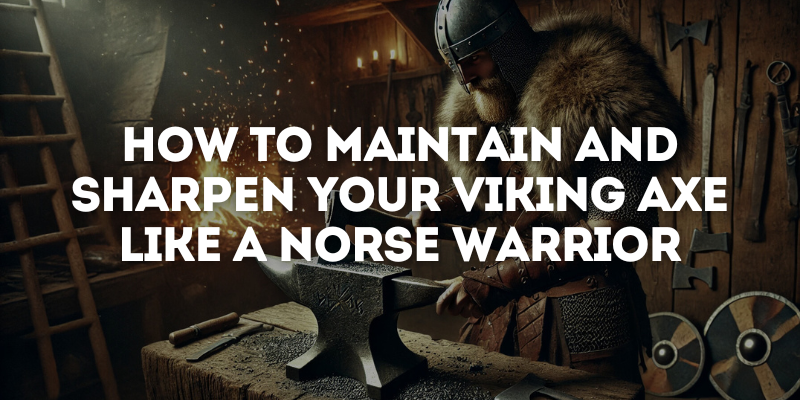
The clang of steel on steel, the bite into wood, the sheer presence of a well-crafted axe in your hand… There's a reason the Viking axe holds such a powerful grip on the imagination. For the Norse warriors, their axes weren't just tools; they were extensions of themselves, vital for survival, battle, and even everyday tasks. Today, whether you're a historical reenactor, a craftsman, a collector, or simply someone who appreciates the raw power and beauty of these iconic weapons, owning Viking axes is about connecting with that heritage.
But owning a Viking axe is a responsibility. It's a commitment to preserving not just the physical object, but also the spirit of the craftsmanship and the warrior ethos it represents. This isn't about mindlessly hacking away; it's about understanding the tool, respecting its power, and maintaining it with the same care and dedication a Norse warrior would have shown. This blog will show you how.
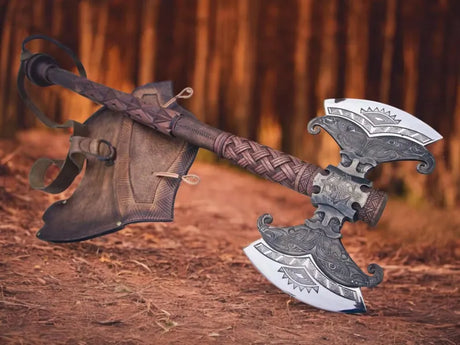
The Anatomy of a Viking Axe: Understanding Your Weapon
Before we dive into sharpening stones and oil cloths, let's get intimately familiar with the anatomy of your Viking axes. Knowing the different parts and their functions is crucial for proper maintenance.
-
The Head: This is the business end, and it's typically made of iron or steel. Within the head, we have several key components:
- The Bit (or Edge): The sharpened, cutting portion.
- The Cheek: The flat sides of the axe head.
- The Poll (or Butt): The blunt back of the axe head, sometimes used for hammering or as a counterweight.
- The Eye: The hole where the haft (handle) is inserted.
- The Lug (or Ears): The extensions of the axe head that extend down along the haft, providing extra support.
-
The Haft (Handle): Traditionally made of strong, resilient wood like ash, hickory, or oak. The haft's shape and length are crucial for balance and control.
- Shoulder: The section of the haft that is directly below the axe.
- Belly: The longest part of the haft, usually curved for improved ergonomics.
- Knob: The end of the haft.
Understanding these components will help you diagnose problems, identify wear and tear, and apply the correct maintenance techniques.
- See more: Axes Collection
The Importance of Regular Axe Maintenance: Beyond Sharpness
Think of your Viking axe as a high-performance machine. Just like a car needs regular oil changes and tune-ups, your axe needs consistent care to perform at its best. Regular maintenance goes far beyond just keeping the edge sharp. It encompasses:
- Preventing Rust and Corrosion: Iron and steel are susceptible to rust, especially in humid environments. Regular cleaning and oiling are essential to prevent this.
- Maintaining Haft Integrity: The wooden haft can dry out, crack, or become loose over time. Regular inspection and treatment are crucial for safety and performance.
- Preserving Historical Accuracy (for Reenactors): If you're involved in historical reenactment, maintaining your axe in a historically accurate manner is paramount.
- Extending the Life of Your Axe: Proper care can significantly extend the lifespan of your axe, saving you money and preserving a valuable tool.
- Ensuring Safety: A dull, damaged, or loose axe is a dangerous axe. Regular maintenance minimizes the risk of accidents.

The Importance of Regular Axe Maintenance
Rust: The Silent Enemy
In a survey it was seen the most prevalent issue faced by Viking Axe users.
| Problem | Percentage of Users Affected |
|---|---|
| Rust and Corrosion | 65% |
| Haft Damage (Cracks) | 40% |
| Loose Axe Head | 30% |
| Edge Damage (Chipping) | 25% |
| Difficulty Sharpening | 20% |
Step-by-Step Guide to Cleaning Your Viking Axe
Cleaning your axe is the first line of defense against rust and degradation. Here's a detailed process:
-
Initial Wipe Down: After each use, even if it's just a light workout, wipe down the entire axe head and haft with a clean, dry cloth. This removes any moisture, sap, or debris.
-
Removing Surface Rust: If you see any light surface rust, use fine steel wool (grade 0000 is ideal) or a specialized rust remover. Apply gentle pressure and work in small circles. Avoid abrasive scrubbers that can scratch the metal.
-
Deep Cleaning (if necessary): For more stubborn dirt or grime, use warm water and a mild soap (dish soap works well). Avoid harsh chemicals or solvents. Use a soft-bristled brush (like an old toothbrush) to get into crevices.
-
Drying Thoroughly: This is crucial! After cleaning, dry the axe completely. Use a clean cloth and ensure no moisture remains, especially around the eye and lugs. Consider using a hairdryer on a low setting to ensure the eye is completely dry.
-
Oiling the Axe Head: Apply a thin coat of protective oil to the entire axe head. Good options include:
- Mineral Oil: Food-safe and readily available.
- Linseed Oil: A traditional choice that forms a protective layer as it dries.
- Gun Oil: Designed for metal protection and readily available.
- Specialty Axe Oil: Some companies produce oils specifically formulated for axes.
- WD-40: Although it is an excellent option, you must reapply often.
Apply the oil with a clean cloth, ensuring you cover all surfaces, including the inside of the eye (as much as possible). Wipe off any excess oil.
-
Haft Care:
- Cleaning: Wipe down the haft with a damp cloth to remove dirt.
- Oiling: Apply boiled linseed oil or tung oil to the haft. This nourishes the wood, prevents it from drying out, and improves grip. Apply a thin coat, let it soak in for 15-20 minutes, and then wipe off any excess. Repeat this process several times a year, or more frequently in dry climates.
- Sanding (if necessary): If the haft is rough or splintered, sand it smooth with fine-grit sandpaper (start with 120-grit and work your way up to 220-grit). Always sand with the grain of the wood.
Sharpening Your Viking Axe: A Norse Warrior's Ritual
Sharpening a Viking axe is more than just a mechanical process; it's a ritual, a connection to the past. A sharp axe is not only more effective but also safer to use. A dull axe requires more force, increasing the risk of glancing blows and accidents.
Understanding Axe Edge Geometry
Before you start sharpening, it's important to understand the geometry of your axe's edge. Viking axes typically have a convex grind, meaning the edge curves outward slightly. This provides strength and durability, making it ideal for chopping and splitting.

Sharpening Your Viking Axe: A Norse Warrior's Ritual
Choosing Your Sharpening Tools
Several tools can be used to sharpen an axe, each with its own advantages and disadvantages:
- File: A mill bastard file is the traditional choice for axe sharpening. It's effective for removing significant amounts of metal and establishing a new edge.
- Sharpening Stone (Whetstone): Whetstones come in various grits, from coarse (for removing nicks and reshaping) to fine (for honing and polishing). A combination of coarse, medium, and fine stones is ideal.
- Puck Sharpener: A circular sharpening stone, often with a coarse and fine side, designed specifically for axes and other curved blades.
- Honing Steel: Used for maintaining an already sharp edge, not for initial sharpening.
- Leather Strop: Used for the final polishing and removing any burrs.
The Sharpening Process: Step-by-Step
- Secure the Axe: Safety first! Secure the axe head in a vise or clamp, ensuring it's stable and won't move during sharpening. If you don't have a vise, you can carefully hold the axe against a sturdy surface, but be extremely cautious.
-
File Work (if necessary): If your axe has significant nicks or damage, or if you're establishing a new edge, start with a file.
- Angle: Hold the file at a consistent angle to the axe edge, typically around 25-30 degrees. This angle may vary slightly depending on the axe's specific geometry.
- Direction: File away from the edge, using long, smooth strokes. Never file back and forth.
- Pressure: Apply even pressure, letting the file do the work. Don't force it.
- Consistency: Work along the entire edge, maintaining the same angle and pressure.
-
Whetstone Sharpening: Once you've established the basic edge with a file (or if your axe only needs minor sharpening), move on to whetstones.
- Lubrication: Use water or oil as a lubricant on the whetstone, depending on the type of stone. This helps to keep the stone clean and prevents metal buildup.
- Coarse Stone: Start with the coarse stone, using the same angle and technique as with the file.
- Medium Stone: Move to the medium stone, refining the edge further.
- Fine Stone: Finish with the fine stone, honing the edge to razor sharpness.
- Puck Sharpener (Alternative): If using a puck sharpener, follow the same principles, using circular motions and maintaining a consistent angle.
- Honing: Once you've sharpened the axe with stones, use a honing steel to further refine the edge. Hold the steel at a slightly steeper angle than you used for sharpening and draw the axe blade across it, alternating sides.
- Stropping: The final step is stropping. This removes any remaining burrs and polishes the edge to a mirror finish. Use a leather strop charged with stropping compound (a fine abrasive paste). Draw the axe blade across the strop, away from the edge, with light pressure.
- Checking of Sharpness: The Paper Test The Arm Hair Test.
Maintaining the Haft: Preventing Cracks and Looseness
The haft is just as important as the blade. A weak or damaged haft is a serious safety hazard.
- Regular Inspection: Check the haft regularly for cracks, splits, or signs of looseness.
- Tightening a Loose Head: If the axe head is loose, you'll need to re-wedge it. This involves driving a wooden or metal wedge into the eye of the axe head to secure it to the haft. This is a more advanced repair and may require the help of a blacksmith or experienced craftsman.
- Replacing a Damaged Haft: If the haft is severely damaged, it's best to replace it entirely. This is a job that requires some skill and patience, but it's essential for safety.
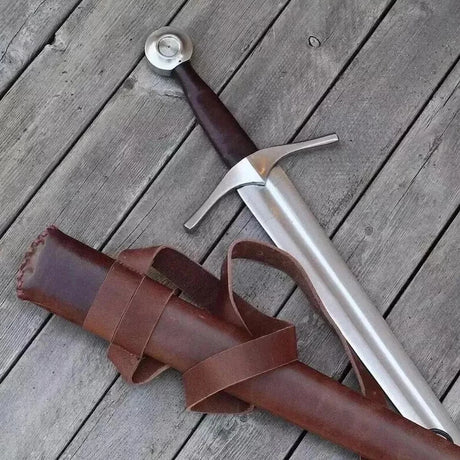
Storing Your Viking Axe: Protecting Your Investment
Proper storage is crucial for preventing rust and damage.
- Dry Environment: Store your axe in a dry, cool place. Avoid damp basements or sheds.
- Sheath or Cover: Use a leather sheath or a blade cover to protect the edge and prevent accidental cuts.
- Hang or Lay Flat: Hang the axe by the head or lay it flat on a shelf. Avoid leaning it against a wall, as this can warp the haft.
- Long-Term Storage: For long-term storage, apply a thicker coat of protective oil or wax to the axe head.
Addressing Counterarguments and Alternative Perspectives
While the methods described above are generally accepted as best practices, there are always alternative approaches and nuances to consider:
- Sharpening Angles: Some people prefer a slightly different sharpening angle depending on the intended use of the axe. For example, a felling axe might have a slightly steeper angle than a carving axe.
- Sharpening Tools: Some prefer electric grinders or belt sanders for sharpening. While these tools can be faster, they also generate a lot of heat, which can damage the temper of the steel if not used carefully. They are generally not recommended for beginners.
- Oil Types: The choice of oil for protecting the axe head is often a matter of personal preference. Some people swear by traditional oils like linseed oil, while others prefer modern synthetic oils.
- Haft Material: While traditional woods like ash and hickory are still popular, some modern axes use synthetic materials like fiberglass or composite materials. These materials are often more durable and resistant to moisture, but they may not have the same feel or aesthetic appeal as traditional wood.
It's important to acknowledge these alternative perspectives and to experiment to find what works best for you and your specific Viking axes.
Real-Life Examples and Anecdotes
I remember the first time I held a truly well-maintained Viking axe. It belonged to an older gentleman, a blacksmith who had been crafting and restoring axes for decades. The axe head was polished to a mirror sheen, the edge was razor-sharp, and the haft was smooth and perfectly balanced. He told me stories of how he had used that axe for everything from felling trees to splitting firewood to carving intricate designs. It was clear that this axe was more than just a tool to him; it was a cherished companion.
Another time, I witnessed a historical reenactment where a Viking warrior's axe head came loose during a mock battle. It was a stark reminder of the importance of regular maintenance and the potential dangers of neglecting your tools. Fortunately, no one was injured, but it served as a valuable lesson for everyone present.
Expert Insights
"A sharp axe is a safe axe. A dull axe is more likely to glance off the wood and cause injury." - Gransfors Bruk, Swedish Axe Maker
"The axe is a tool of great power and versatility. It deserves our respect and our care." - Peter Vagn, Blacksmith and Axe Expert.
Conclusion
Maintaining and sharpening your Viking axe is a journey of connection – a connection to history, to craftsmanship, and to the raw power of these iconic tools. It's a way to honor the legacy of the Norse warriors and to keep their spirit alive. By following the steps outlined in this guide, you can ensure that your Viking axes remain a source of pride, a testament to your skill, and a reliable companion for years to come. Continue to explore the world of Viking axes. To learn more, continue your journey with Tales of Valhalla.
FAQs
1. How often should I sharpen my Viking axe?
It depends on how frequently you use it. If used for chopping wood or reenactments, sharpen it after every few uses. If it’s for display, occasional maintenance is enough.
2. What’s the best way to remove rust from a Viking axe?
Use white vinegar, a rust eraser, or fine steel wool. Soak the blade in vinegar for a few hours, scrub with steel wool, then apply oil to prevent future rusting.
3. What type of sharpening tool should I use for my Viking axe?
Use a whetstone, sharpening puck, or a fine metal file. For a razor-sharp edge, finish with a leather strop.
4. How do I properly oil my Viking axe to prevent rust?
Apply a thin layer of boiled linseed oil, mineral oil, or gun oil on the blade and the wooden handle. This keeps the metal rust-free and the wood from drying out.
5. Should I polish my Viking axe, or keep it rugged for authenticity?
It depends on your preference! If you want an authentic battle-worn look, let it develop a natural patina. If you prefer a shiny finish, use polishing compounds and a cloth buffer.
6. How can I store my Viking axe safely when not in use?
Keep it in a dry place, preferably in a leather sheath or wrapped in cloth. Avoid storing it in humid areas to prevent rust and wood shrinkage.